How To Connect a Canon Camera To a Computer? Connecting your Canon camera to a computer is key in photography. It lets you edit photos, make backups, and share your work. This connection helps you move photos and videos to your computer for better editing and organization.
Having a good Canon camera connection to your computer changes your workflow. It makes transferring, editing, and sharing photos and videos easy. This section will show why connecting your Canon camera to a computer is important.
Key Takeaways
- Connecting your Canon camera to a computer allows for easy photo and video transfer
- A Canon camera connection enables the editing and enhancement of your photos
- Setting up a computer connection setup is relatively straightforward
- Connecting your Canon camera to a computer is essential for creating backups
- A proper computer connection setup can improve your photography workflow
Essential Requirements for Connecting Your Canon Camera
You need the right stuff to connect your Canon camera to your computer. This includes a compatible operating system, the right cables, and enough power for your camera. A stable USB cable connection is key for moving data. Wi-Fi connection options are great for wireless transfers.
First, check if your computer meets Canon’s system requirements. Then, I looked for compatible operating systems and gear on Canon’s site. Just visit the Canon website and search for your camera model.
Important things to think about when connecting your Canon camera include:
- Using the correct USB cable for a secure USB cable connection
- Ensuring your computer’s operating system is compatible with your camera
- Managing your camera’s power supply during the connection process to avoid any disruptions
- Exploring Wi-Fi connection options for wireless transfer
You’ll ensure that your Canon camera and computer connect well by checking these key points. This will make it easier to share and manage your photos and videos.
Preparing Your Canon Camera for Computer Connection
Follow a few easy steps to ensure your Canon camera connects well to your computer. First, set your camera to the right mode, like “PC” or “Computer.” Then, ensure it’s charged with a battery or an AC adapter. Lastly, tweak your camera’s settings to talk to your computer.
Here are the main steps to get your Canon camera ready for connection:
- Set your camera to the correct mode, usually marked as “PC” or “Computer.”
- Ensure your camera is properly powered, either by battery or AC adapter
- Adjust your camera’s settings to enable communication with your computer
Following these steps, you’ll connect your Canon camera and computer smoothly, making transferring your photos and videos easy. Proper Canon camera preparation and connection setup are key to a smooth experience.
Always check your camera’s manual for exact steps to prepare it for connection. With these simple steps, you’ll have a smooth connection setup and easily transfer your photos and videos to your computer.
Understanding Different Connection Methods
Connecting your Canon camera to a computer has several options, each with its own benefits and drawbacks. Knowing about Canon software installation and photo transfer methods is key.
Choosing the right connection method depends on your needs. For quick photo transfers, USB cables or memory card readers are good. For wireless transfers, Wi-Fi is the way to go.
Here are some common ways to connect:
- USB Cable Connection: Using a USB cable to link your camera to your computer is easy and direct.
- Wi-Fi Connection lets you send photos wirelessly, making sharing or uploading easy.
- Memory Card Reader Method: Remove your camera’s memory card and plug it into a reader on your computer.
Remember the Canon software installation process. It helps you better manage and transfer your photos. You’ll get the most out of your Canon camera by exploring these connection and transfer methods.
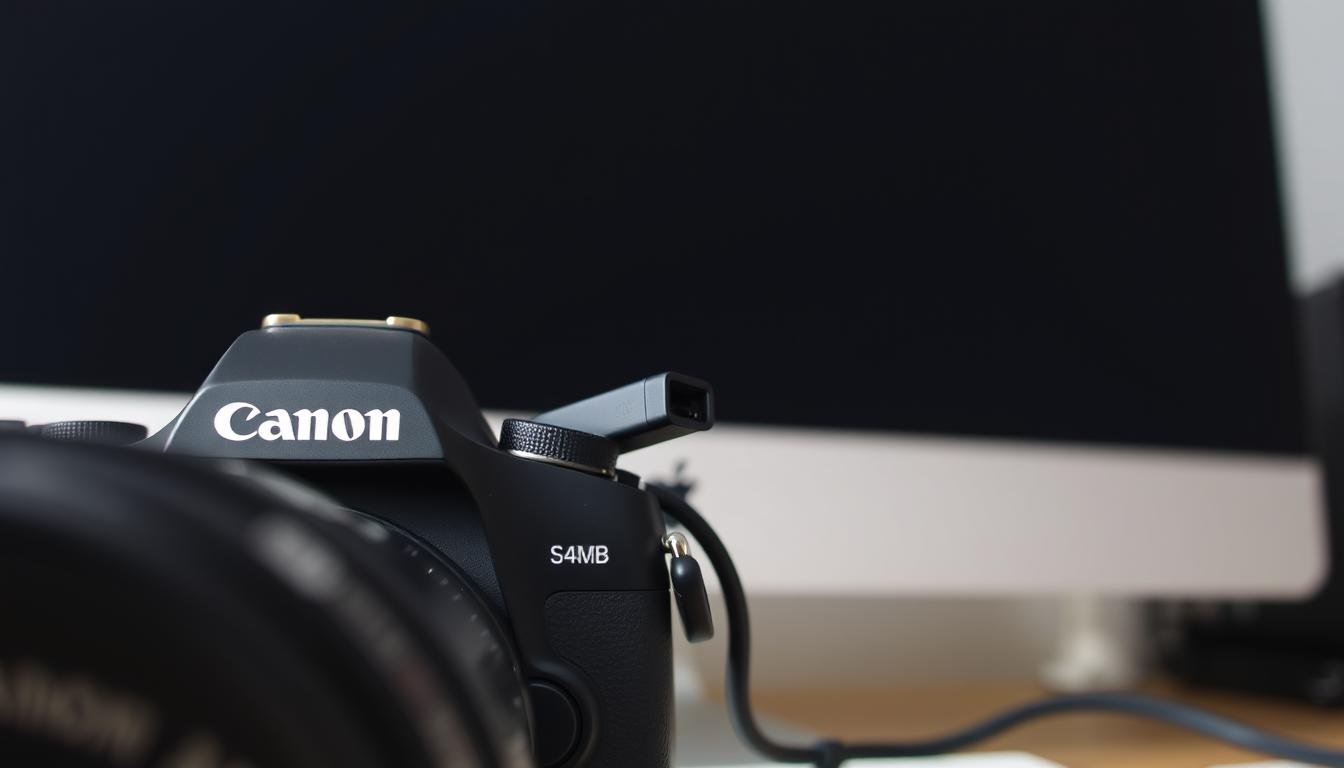
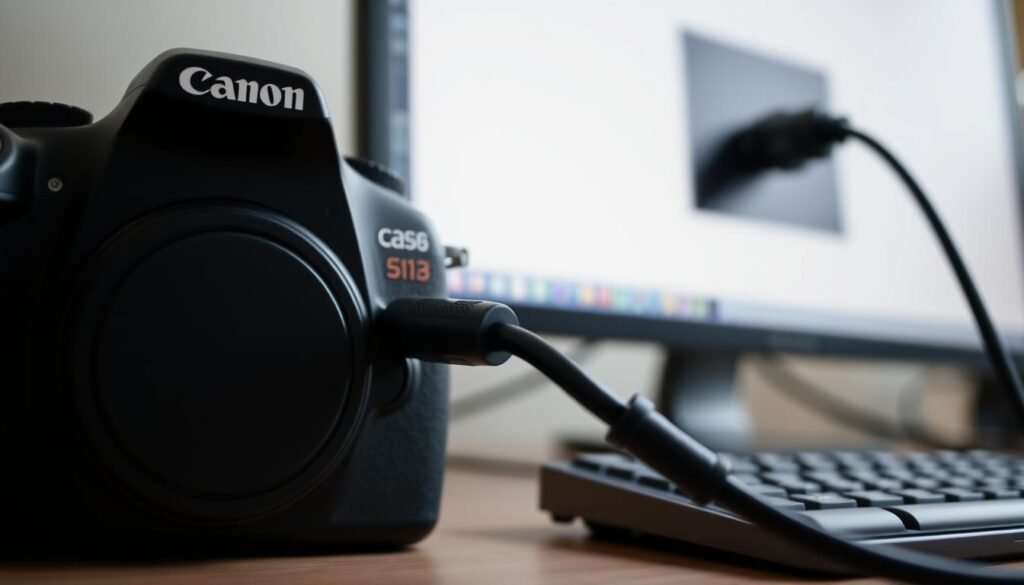
How to Connect a Canon Camera to a Computer Using USB
First, to connect your Canon camera to a computer via USB, prepare your USB cable and camera. Make sure the USB cable is compatible to avoid connection problems. Then, switch your camera to “PC” or “Computer” mode for the USB connection setup.
After setting your camera, plug the USB cable into your camera and computer. Your computer should then find the device and ask to install drivers or software. If you’re on Windows, you might need to download Canon camera drivers from their website for the Canon camera to computer link.
Once the drivers are installed, your computer should see your Canon camera. This lets you move photos and videos using the USB connection setup. If you run into trouble, check Canon’s website for a troubleshooting guide on your Canon camera to computer link.
Following these steps, you can link your Canon camera to your computer with a USB cable. This completes the USB connection setup, making sharing your photos and videos easy.
Installing Canon Software and Drivers
You might need to install certain software tools and drivers to get the most out of your Canon camera. This includes EOS Utility software for remote shooting and image transfer. Driver updates are also needed for compatibility and to fix bugs.
Canon’s official website makes it easy to download the necessary tools. Installing these will improve your camera’s performance and ensure your camera and computer talk smoothly.
Installing Canon software and drivers brings many benefits. Here are a few:
- Remote shooting and image transfer capabilities
- Compatibility with various operating systems
- Bug fixes and performance enhancements
- Access to additional features and functions
Following the installation steps and keeping your driver updates current will improve the performance of your Canon camera and computer. Check out Canon’s official website for more details on installation and available software tools.
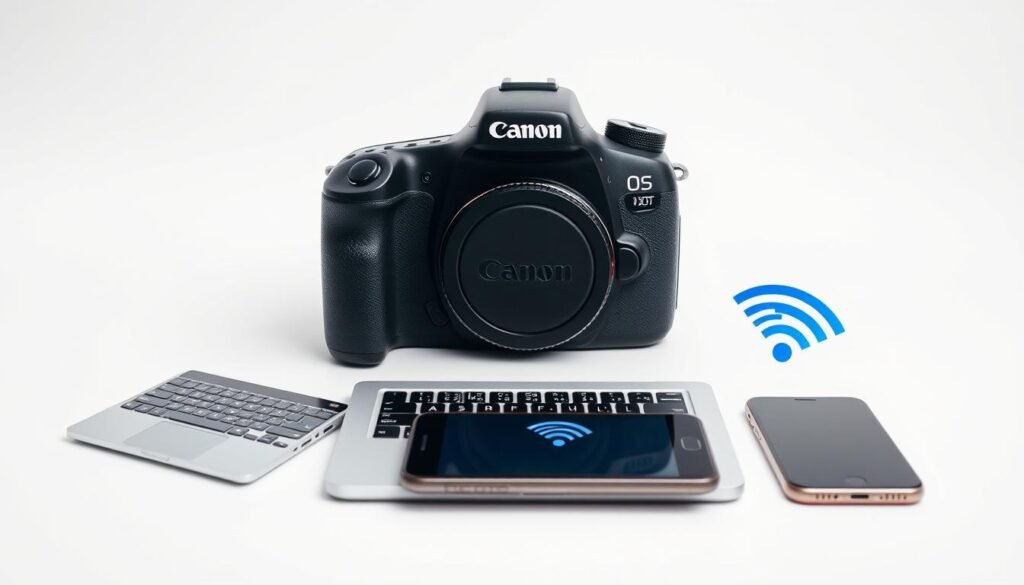
Wireless Connection Setup for Modern Canon Cameras
To set up Wi-Fi on your Canon camera, go to the camera’s Wi-Fi settings. You’ll find this in the menu, under “Wireless Settings” or “Wi-Fi Setup.” Once you’re there, choose the network you want to connect to.
Make sure your Canon camera and computer are on the same network. Pick the same network name (SSID) on both. Check your router or its manual if you can’t find the network name.
Here’s how to set up Wi-Fi:
- Enable Wi-Fi on your Canon camera
- Select the network you want to connect to
- Enter the network password (if required)
- Wait for the camera to connect to the network
After connecting, use Canon software to move photos and videos to your computer. This software comes with your camera or can be downloaded from Canon’s website. The exact steps might differ based on your camera model, so check the manual if needed.
Follow these steps to set up Wi-Fi on your Canon camera and start transferring your photos and videos wirelessly.
Transferring Photos and Videos to Your Computer
You can transfer your photos and videos once your Canon camera is connected to your computer. There are several ways to do this, such as manual file transfer, using Canon transfer software, and setting up automatic import options. Each method has its own pros and cons, which we’ll explore here.
When it comes to photo transfer methods, you have choices. Manual file transfer lets you control what files you transfer, but it takes time. Using Canon transfer software makes the process quicker and easier.
Here are some key points to consider when transferring your photos and videos:
- Manual file transfer: This method involves selecting and transferring files from your camera to your computer.
- Using Canon transfer software: Canon provides software that can automatically detect and transfer files from your camera to your computer.
- Automatic import options: Many computers and photo editing software offer automatic import options that can transfer files from your camera to your computer without requiring manual intervention.
Understanding the different photo transfer methods and available Canon transfer software can help you choose the one that best suits your needs. This ensures a smooth transfer of your photos and videos to your computer.
Common Connection Problems and Solutions
Connecting a Canon camera to a computer can sometimes go wrong. Users might face connection problems that stop photos and videos from transferring. To fix these issues, it’s key to troubleshoot to find out what’s wrong. Canon’s support pages and forums say common problems include failed connections, software that doesn’t work, and hardware issues.
To solve these problems, try restarting your camera and computer. Also, check for firmware updates and ensure the USB cable is plugged in correctly. Canon offers tools and resources to help with connection problems. By following these steps and using Canon’s help, you can connect your camera to your computer and share your photos and videos.
Some common fixes for connection problems are:
- Check the USB cable for damage or problems
- Update the camera’s firmware and software
- Turn off and then turn on the camera’s Wi-Fi
- Restart your computer and camera
By trying these troubleshooting steps and using Canon’s resources, you can fix connection problems. Also, keep your software and firmware up to date. This can help avoid connection problems and keep your camera and computer connected smoothly.
Best Practices for File Management
After moving your photos and videos to your computer, managing them well is key. This ensures you can find them easily and avoid losing data. Good file management means organizing your files in a way that makes sense. This makes finding specific photos or videos simpler when you need them.
Having a solid photo organization plan can save you a lot of time and stress. You can do this by setting up folders and subfolders for your photos. These can be based on events, dates, or themes. Also, using clear and descriptive file names helps you quickly know what each file is about.
Some top tips for file management include:
- Creating a main folder for all your photos and videos
- Using tags or keywords to sort your files
- Setting up automatic backups to avoid losing data
Regular backups are key in photo organization and file management. Think about using external hard drives or cloud storage for your backups. This keeps your files safe, even if your computer crashes or you face another disaster.
By following these best practices, you can keep your photos and videos organized, easy to find, and safe from loss. This will save you time and effort in the long run and let you focus more on taking pictures and enjoying your memories.
Advanced Connection Features for Professional Photographers
For professional photographers, the right tools and features are key. Canon offers advanced connection features that boost the photography experience. Tethered shooting lets you see and control your camera from a computer. This is great for studio work, where precision matters a lot.
Remote camera control lets you adjust settings and take photos without touching the camera. It’s perfect for wildlife or landscape shots, where the camera might be hard to reach. This way, photographers can get amazing shots without scaring their subjects or risking their safety.
Canon’s EOS Utility software is great for using these features. It lets you tweak camera settings, see images, and take photos from afar. With these tools, professional photographers can create incredible images.
- Tethered shooting for real-time preview and control
- Remote camera control for adjusting settings and capturing images
- Canon’s EOS Utility software for advanced connection features
Using these features can make your workflow smoother and your photos better. Whether you’re into tethered shooting or remote camera control, Canon has what you need to excel in photography.
Maintaining Your Camera-Computer Connection
It is key to keep your Canon camera and computer connected well. This means updating your camera’s firmware and software and keeping your computer’s operating system current.
It’s important to check for problems often. Clean your ports and make sure everything is plugged in right. This helps avoid issues.
Here are some ways to keep your connection strong:
- Update your camera’s firmware often
- Keep your computer’s software and OS updated
- Clean your ports regularly
By doing these things, you’ll keep your connection working well. This helps avoid problems that come from not taking care of your connection.
FAQ
What cables and equipment are required to connect a Canon camera to a computer?
To connect your Canon camera to a computer, you need a USB cable that fits your camera model. Also, make sure your computer can run your Canon camera.
How do I prepare my Canon camera for connection to a computer?
First, set your Canon camera to the right mode. Then, ensure it’s turned on and adjust its settings as needed.
What are the different methods for connecting a Canon camera to a computer?
You can connect your Canon camera to a computer using a USB cable, Wi-Fi, or a memory card reader.
How do I install Canon software and drivers for my camera?
To use all the features of your Canon camera, you might need to install EOS Utility software and camera driver updates, as well as other Canon software tools.
How do I connect my Canon camera and computer wirelessly?
Go to your camera’s Wi-Fi settings to set up a wireless connection. Then, create a secure connection with your computer.
What are the best practices for transferring photos and videos from my Canon camera to my computer?
You can transfer files manually, use Canon’s transfer software, or set up automatic import. Choose what works best for you.
How can I troubleshoot common connection problems between my Canon camera and computer?
There are solutions if you face issues like failed connections or software incompatibility. Try different troubleshooting steps to solve these problems.
How should I manage and organize the files transferred from my Canon camera to my computer?
It’s crucial to organize your photos and videos well. Also, back up your files regularly to avoid losing data.
What advanced connection features are available for professional photographers using Canon cameras?
Professional photographers can use tethered shooting and remote camera control. These features can improve their workflow and creativity.
How can I maintain the connection between my Canon camera and computer over time?
To keep your connection stable, regularly update your camera’s firmware and computer’s software. Also, clean your ports to ensure a good connection.
Conclusion
Connecting your Canon camera to a computer is a powerful tool for photographers. It lets you manage, edit, and share your photos easily. You can use USB cables or wireless options to do this.
Whether you’re a pro or a hobbyist, this guide greatly helps you. It shows you how to use your camera’s tethered shooting features. Keeping your software and drivers updated is also key to a smooth connection.
Getting your Canon camera and computer to work together well takes some effort. But with the right knowledge, you can do it. This will help you be more creative and improve your photography skills.
As a tech writer specializing in gadget apps and software, my mission is to make complex technical details accessible and engaging, helping users navigate modern technology with confidence, from early adopters to everyday consumers.
I focus on creating clear and concise documentation, tutorials, and articles that demystify how apps and software integrate with gadgets to enhance daily life. Whether it’s breaking down the features of a smart home app, exploring the latest mobile software updates, or providing troubleshooting guides for wearable tech, I aim to make the user experience seamless and enjoyable.
Writing is more than conveying information; it fosters understanding and connection. By simplifying gadgets, apps, and software, I empower users to use technology for productivity, entertainment, and innovation in their daily lives.