Hoverboards, or self-balancing scooters, have gained popularity due to their unique design and fun riding experience. These two-wheeled, battery-powered devices use advanced sensors and gyroscopic technology to maintain balance and allow riders to control their movement by shifting their weight. The lithium-ion battery pack powers the motors and electronic components, connected to a motherboard or control board that processes sensor data.
Hoverboards also have a power switch, charging port, and wires and connectors. However, despite their innovative design, hoverboards can sometimes encounter issues that prevent them from functioning properly, which can be frustrating for owners who rely on them for transportation or recreational purposes. Common reasons include dead or faulty batteries, loose wire connections, malfunctioning power switches, damaged charging ports, or fried motherboards or control boards. Let’s dive into the article Why My Hoverboard Won’t Turn On.
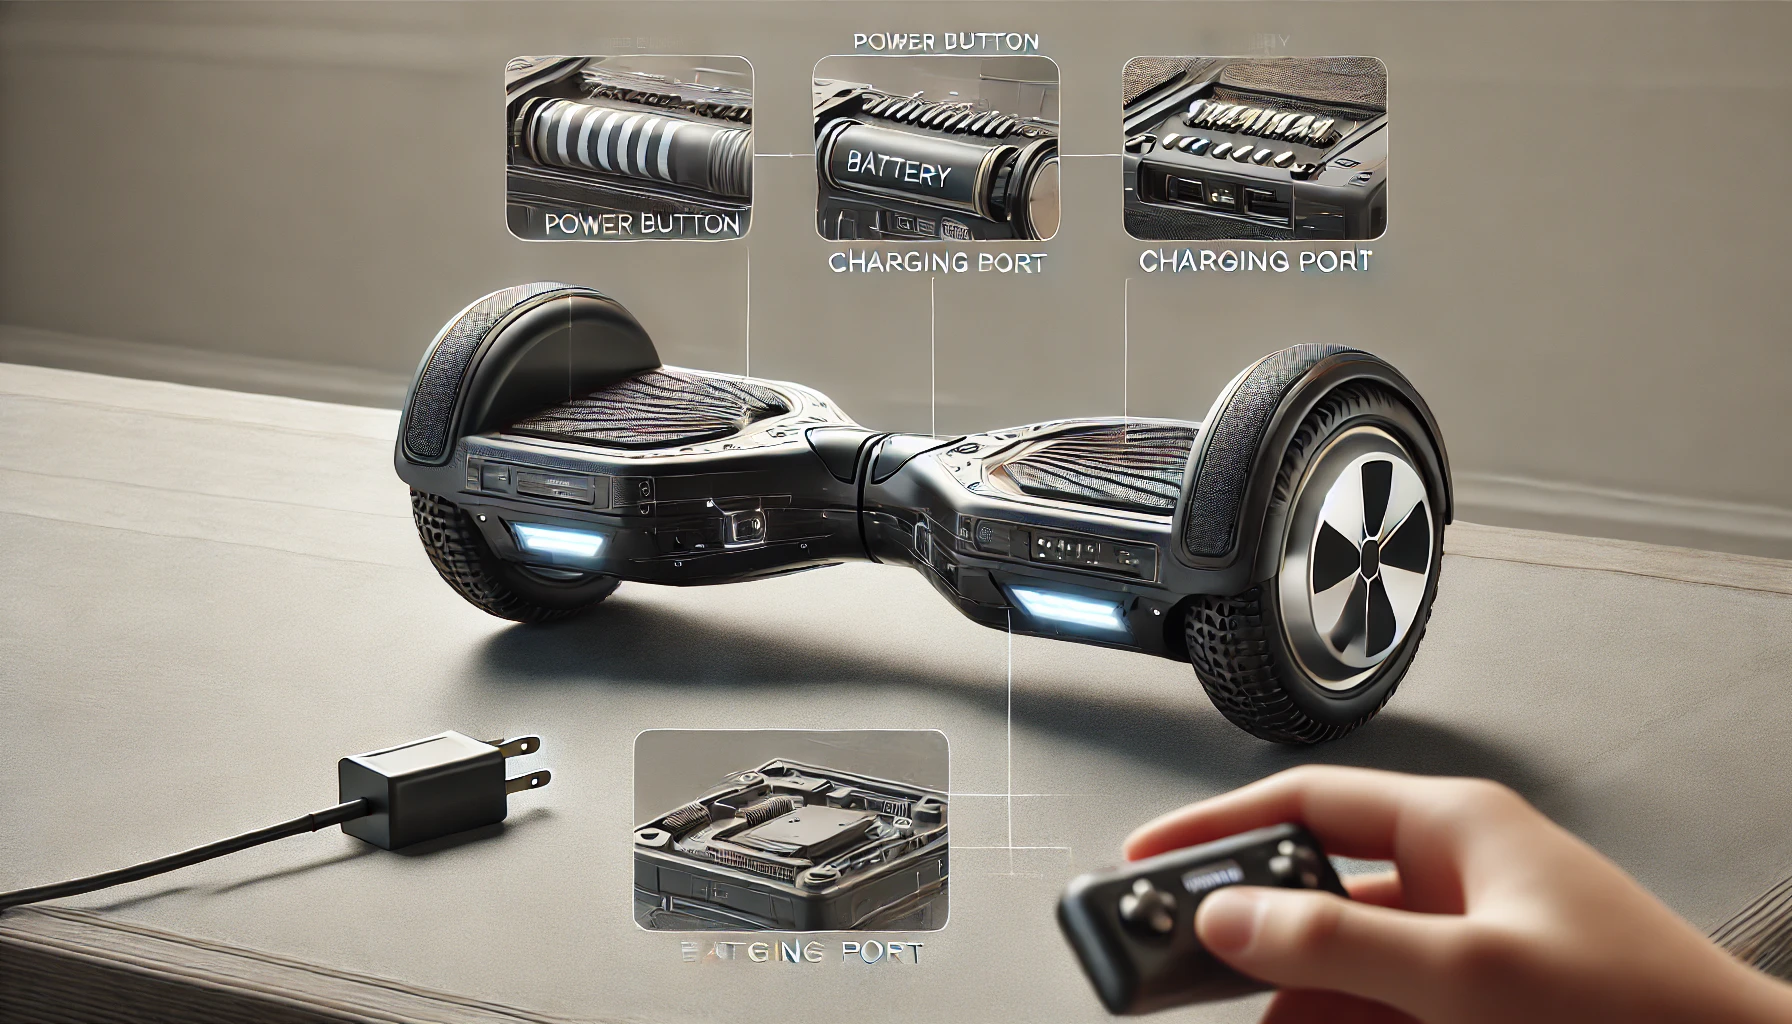
Common Causes of a Hoverboard Not Turning On
A dead or faulty battery is a common issue with hoverboards, as they are powered by rechargeable lithium-ion batteries that can degrade over time or become drained if left uncharged. If the battery is unable to hold a charge or has reached its end of life, it must be replaced.
Loose wire connections can also prevent a hoverboard from powering on, as they disrupt the flow of electricity. A faulty power switch is another potential culprit, as it is responsible for completing the circuit and allowing electricity to flow from the battery to the hoverboard’s components. Damage to the charging port can also cause issues, as it may not receive a proper charge from the charger, leaving the battery drained and unable to power the device.
Furthermore, a fried or damaged motherboard or control board can render a hoverboard inoperable, as these critical components control the motors, sensors, and other functions. If the control board is faulty or has sustained significant damage, it may need to be repaired or replaced to restore functionality.
Troubleshooting Steps for a Non-Working Hoverboard
If your hoverboard won’t turn on, there are a few troubleshooting steps you can take to diagnose and potentially fix the issue yourself. Start by checking the battery charge and connections. Even if the hoverboard was recently charged, the battery may have become disconnected or the charging port could be faulty.
Next, closely inspect all the wires and connections inside the hoverboard. Look for any loose, frayed, or damaged wiring that may be causing a break in the electrical flow. Ensure all connections are securely plugged in, especially the main battery wires.
The power button or switch itself could also be the culprit. Try bypassing it by carefully shorting the wires leading to the switch to see if the hoverboard powers on. If it does, you likely need to replace the faulty power switch.
Another potential issue is the charger or charging port. Try using a different charger that is compatible with your hoverboard model. If the device charges but still won’t turn on, the charging port may be damaged and require replacement.
If none of the above steps work, you’ll need to open up the hoverboard casing and do a more thorough internal inspection. Look for any visibly damaged components, burnt spots on the circuit board, or loose connections that could be preventing power flow. However, proceed with caution if you lack experience working with electronics.
Fixing a Dead Hoverboard Battery
One of the most common reasons a hoverboard won’t turn on is a depleted or faulty battery. If your hoverboard’s battery has been completely drained for an extended period, it may not accept a charge or power on the device initially.
The first step is to charge the hoverboard battery for several hours using the appropriate charger. Even if the battery appears completely dead, allow it to charge overnight before attempting to power it on again. Sometimes batteries just need a long, slow recharge to revive them.
If charging doesn’t work, you can check the battery’s voltage with a multimeter. Most hoverboard batteries are 25.2V or 36V lithium-ion packs. If your multimeter shows 0V or just a couple volts, the battery cells are likely damaged beyond repair and unable to hold a charge.
An old, worn-out battery that won’t hold a charge is one of the main culprits for a non-working hoverboard. Lithium-ion batteries degrade over time, even if stored properly. If your hoverboard is several years old and the original battery won’t charge up, it’s probably time to replace the battery pack with a new one from the manufacturer or a third-party vendor.
Replacing the battery can often bring an old, dead hoverboard back to life for a fraction of the cost of a whole new unit. Just be sure to properly recycle the old battery pack.
Fixing Loose Wire Connections
Hoverboards often fail to turn on due to loose wire connections, caused by constant vibrations and movement. To fix this issue, inspect the internal wiring of the hoverboard and ensure all connections are properly connected.
Start by removing the outer casing, which is typically held together by several screws. Be careful when prying off the plastic shell to avoid breaking any components. Once the casing is off, you’ll have access to the internal components, including the battery, motherboard, and wiring harnesses.
Carefully examine all the wire connections, paying close attention to the battery wires, as these are crucial for powering the device. Look for any wires that appear loose or disconnected from their ports. If you find any, gently reseat the wire connectors, ensuring they are firmly plugged into their respective ports.
The battery wires are especially important, as a loose connection here can prevent the hoverboard from receiving power. Double-check that the battery wires are securely connected to both the battery and the motherboard or control board.
To fix a hoverboard issue, inspect the wire insulation for damage or fraying, replace exposed or damaged wires, reassemble the hoverboard by replacing the outer casing and securing it with screws, and power it on again. If loose wire connections cause the issue, the hoverboard should turn on and function properly.
Fixing a Faulty Power Switch
A faulty power switch could be the cause of your hoverboard not turning on, as it allows electricity to flow when pressed. Over time, these switches can wear out or become stuck due to debris or impact damage.
To identify the power switch as the cause, temporarily bypass it by locating the switch’s input and output wires and creating a direct connection to simulate the switch being pressed. Here are the steps:
- Locate the power switch on your hoverboard, usually on the top side or near the charging port.
- Carefully remove the outer casing to access the internal components and wiring.
- Identify the two wires connected to the power switch terminals. These are typically different colors to distinguish positive and negative.
- Using a non-conductive tool or wire stripper, strip a small section of insulation off each wire to expose the metal conductors.
- Twist the two exposed wire ends together or use a paperclip to create a temporary connection, effectively bypassing the power switch.
- With the wires bridged, attempt to turn on your hoverboard. If it powers on successfully, the power switch is likely defective.
To fix a faulty power switch on a hoverboard, replace it with a new one, ensuring it’s compatible with your specific model. This usually involves desoldering the old switch, preparing the new one by bending terminals, and securely soldering it in place.
Avoid damaging surrounding components. After installation, reassemble the hoverboard’s casing to ensure a fully functioning power button. Regular maintenance and handling can help prevent future power switch issues.
Troubleshooting Charging Issues
A hoverboard’s failure can be attributed to a malfunctioning charging system, where the battery is not adequately charged, preventing the motors and electronics from functioning properly.
The first step is to try using a different charger that is compatible with your specific hoverboard model. Many generic hoverboard chargers are available online and can be an affordable solution if your original charger is lost or damaged. Just be sure to double-check the voltage, polarity, and connector type match your hoverboard’s requirements.
If trying a new charger doesn’t resolve the issue, the problem may lie with the charging port itself on the hoverboard. This port can become damaged from repeated, moisture exposure, or physical impacts. Inspect the port for any bent pins, debris, or signs of corrosion. Gently clean it with a toothpick or compressed air if needed.
If the charging port is damaged or not functioning properly, it’s likely necessary to replace it entirely. This involves disassembling the hoverboard shell, desoldering the old port, and soldering on a new compatible part. Those without soldering experience may need professional help.
Repairing a Fried Motherboard/Control Board
In some cases, the reason your hoverboard won’t turn on could be due to a damaged or fried motherboard or control board. These are the main circuit boards that control the hoverboard’s electronics and motor functions.
Signs of a Damaged Board
If you’ve ruled out the battery, wiring, and charging issues, but the hoverboard still won’t power on, it could point to a motherboard/control board failure. Some telltale signs include:
- Burn marks or melted components on the board
- Visible cracks or breaks in the board
- A strong burning smell coming from the hoverboard
- Hoverboard was exposed to water or moisture damage
Replacement Options
For the average user, attempting a motherboard repair is not recommended as it requires advanced soldering skills and electronics knowledge. The safer option is to replace the faulty board entirely.
You can purchase replacement motherboards or control boards specifically designed for your hoverboard model. Make sure to get the correct part number and follow any disassembly instructions carefully.
Professional Repair
If you don’t feel comfortable replacing the board yourself, or the damage seems extensive, it’s best to seek professional repair services. Hoverboard repair shops or electronics repair centers can diagnose and fix issues with the main circuit boards.
Professional repair may cost more upfront but ensures the job is done properly and reduces the risk of further damage. They can also provide guidance on whether a board replacement is truly necessary or if other components need fixing.
Preventative Maintenance Tips
Proper care and maintenance can go a long way in preventing issues with your hoverboard not turning on. Here are some key preventative tips:
Don’t Overcharge the Battery
One of the biggest culprits of hoverboard battery degradation is overcharging. Once the battery is fully charged, be sure to unplug it from the charger. Leaving it plugged in for extended periods can overcharge and damage the battery cells.
Avoid Water Exposure
Hoverboards contain sensitive electrical components that can be easily damaged by water. Ride cautiously to avoid puddles and never submerge your hoverboard in water. Even small amounts of moisture can cause corrosion and short-circuiting.
Check Wires and Connections Periodically
Over time, the wires and connections inside the hoverboard can become loose due to vibrations and impacts from riding. Every few months, open up the hoverboard casing and check that all wires are securely connected to their respective ports on the battery, motors, and control board.
FAQs
How to Test Your Hoverboard Battery with a Multimeter?
To test your hoverboard battery with a multimeter, set it to DC voltage and connect the probes to the battery terminals. A healthy battery should show a voltage close to its rated value.
Is there a reset button on a hoverboard?
Yes, most hoverboards have a reset button, typically activated by holding the power button for 10-15 seconds.
How to Replace the Power Button on Your Hoverboard
Replacing the power button on your hoverboard involves a few simple steps. First, turn off the hoverboard and disconnect it from any power source. Use a screwdriver to remove the screws securing the outer casing to access the internal components. Locate the power button and its wiring. Disconnect the wires attached to the faulty button, noting their configuration for reattachment. Remove the old button and replace it with a new, compatible power button. Reconnect the wires securely and ensure proper alignment.
How to Change the Charger Port on Your Hoverboard?
Open the casing with a screwdriver to access the charger port.
Disconnect the wires attached to the old port.
Install the new port by connecting the wires securely and ensuring proper alignment.
Close the casing and test the new charger port with a compatible charger.
How to Fix Hoverboard Remote Control Battery?
To fix a hoverboard remote control battery, start by checking if the battery is depleted. Open the remote control casing using a screwdriver and locate the battery compartment. Remove the old battery and inspect for any corrosion or damage in the compartment. Clean the contacts if necessary using a cotton swab and rubbing alcohol. Replace the old battery with a new one of the correct type, ensuring proper polarity alignment. Reassemble the remote control and test it with your hoverboard to ensure it works correctly. If the issue persists, consider replacing the entire remote control.
Conclusion
Hoverboards can be frustrating to use, but with proper troubleshooting, they can be revived. Common issues include dead batteries, loose wire connections, faulty power switches, damaged charging ports, or fried motherboards. To fix these issues, check the battery charge, inspect the wires, test the power switch, and try a different charger. If these steps don’t work, replace the battery, reseat internal connections, bypass a faulty switch, or replace the charging port or motherboard. Proper maintenance, such as avoiding overcharging, exposing the battery to water or moisture, and checking internal wires, can extend the hoverboard’s lifespan.
As a tech writer specializing in gadget apps and software, my mission is to make complex technical details accessible and engaging, helping users navigate modern technology with confidence, from early adopters to everyday consumers.
I focus on creating clear and concise documentation, tutorials, and articles that demystify how apps and software integrate with gadgets to enhance daily life. Whether it’s breaking down the features of a smart home app, exploring the latest mobile software updates, or providing troubleshooting guides for wearable tech, I aim to make the user experience seamless and enjoyable.
Writing is more than conveying information; it fosters understanding and connection. By simplifying gadgets, apps, and software, I empower users to use technology for productivity, entertainment, and innovation in their daily lives.