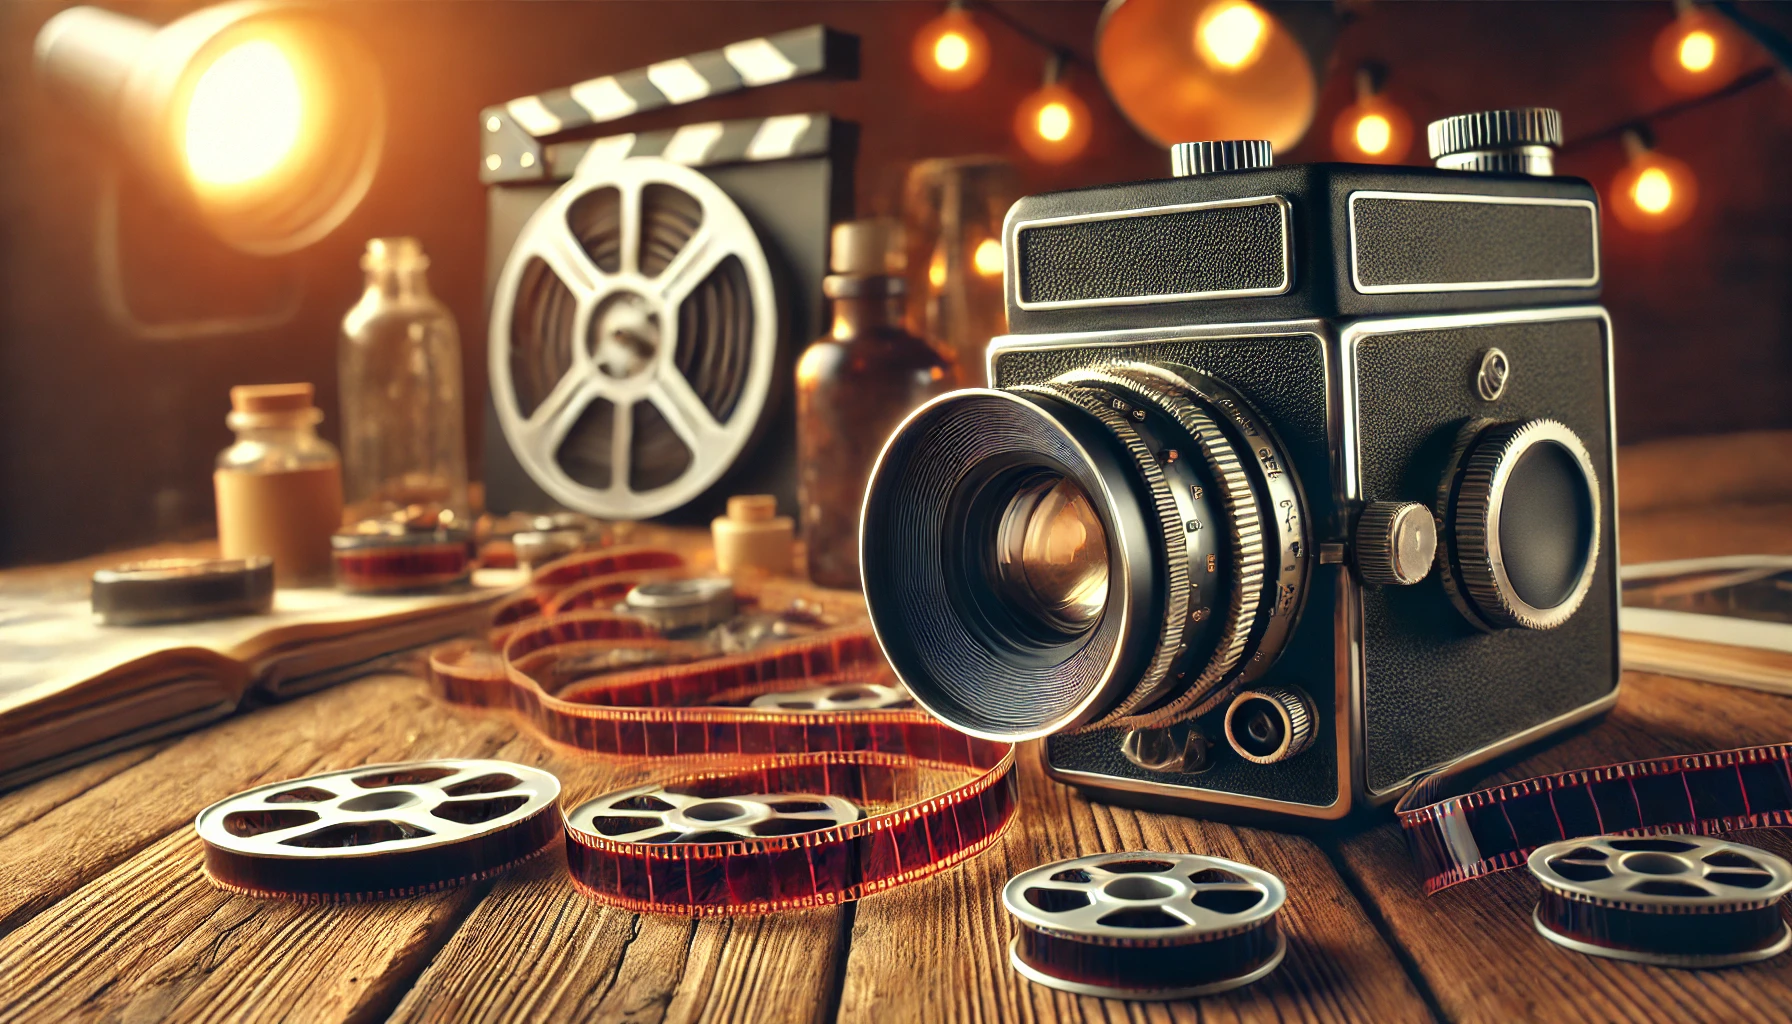
Super 8 cameras have been a beloved tool in filmmaking since their inception in the 1960s, offering a unique approach to form that digital counterparts often fail to deliver. These timeless cameras allow for artistic and filmic engagement, but achieving sharp focus in all key areas is crucial for capturing recognizable pictures. This article, How to Focus a Super 8 Camera, will demonstrate the procedure of focusing on a Super 8 camera, providing tips and strategies for novices and those looking to refresh their skills. Following these tips, users can get the best out of their vintage cameras and create recognizable pictures in close-up and distant wide shots.
The Basics of Focusing
Focusing is crucial in Super 8 cameras for capturing sharp, clear images. It involves adjusting the lens to ensure the subject is sharp and clear. A focus ring around the lens adjusts focus, allowing objects at different distances to be brought into focus. Distance markers on the lens or within the viewfinder help gauge the proper setting for the subject.
Super 8 cameras feature two primary focusing systems: manual focus and automatic focus.
- Manual Focus: In cameras with manual focus, you have complete control over the focus ring. This allows for more creative flexibility, especially when you need precise focus adjustments, such as for close-up shots or moving subjects. It requires you to know the distance between your subject and the camera, adjusting the focus ring accordingly to ensure the subject is sharp.
- Automatic Focus: Some Super 8 cameras have automatic focus, which adjusts the lens’ focus based on the subject’s distance in the frame. This is especially useful for beginners or fast-moving scenes where manual adjustments might be difficult. However, automatic focus systems may struggle in low-light situations or with fast-moving subjects, so manual focus might still be preferred for more control and reliability.
Types of Super 8 Cameras and Focus Mechanisms
Manual Focus Cameras:
Super 8 cameras offer filmmakers complete control over the focusing process through a focus ring on the lens. This ring allows manual focus adjustment by rotating until the subject appears sharp in the viewfinder. The lens often has distance markings to help set the correct focus for subjects at varying distances. Effective manual focusing requires understanding the relationship between subject distance and focus.
If the subject is too close or far from the selected focus setting, it will appear blurry in the frame. Mastering manual focus allows for creative freedom in choosing the perfect focus for a scene, especially when highlighting elements or controlling depth of field.
Auto Focus Cameras:
Autofocus (AF) cameras in the Super 8 format use built-in sensors to automatically adjust the lens to achieve a sharp image based on the subject’s distance. This convenience is particularly useful for beginners or those in situations where the subject moves or the scene changes quickly. The main benefit of autofocus is its ease of use, as it eliminates the need to constantly adjust focus, allowing for sharp footage without worrying about losing focus. This makes it an ideal choice for those who want to focus on the subject without manually adjusting the focus ring.
Setting the Correct Focus – 3 Best Methods
Using the Viewfinder:
When using a Super 8 camera, the viewfinder is the primary tool for checking focus. To ensure sharpness, look through the viewfinder and adjust the focus ring. Pay attention to the subject’s clarity and the image’s sharpness. For manual focus cameras, align the focus ring to the appropriate distance. Automatic focus cameras adjust focus automatically but visually confirm its sharpness. If your camera has a diopter adjustment, ensure it’s set to your eyesight to avoid confusion and ensure the viewfinder’s image is sharp for your vision.
Using Focus Indicators (If Applicable):
Super 8 cameras often have focus indicators in the viewfinder, such as distance markers or focus guides, which provide visual cues for different focus settings, such as close-up, medium, and infinity focus.
- Distance Markers: These are often represented as numbers or lines corresponding to specific distances (e.g., 1 meter, 5 meters, infinity). By aligning these markers with your subject, you can easily set the focus without guessing.
- Focus Guides: Cameras may feature a focus zone or bar that moves with focus ring adjustment, aligning with the corresponding zone when the subject is focused, confirming sharpness.
Focusing on Different Subjects:
- Close-up Shots: For close-up shots, the subject will be much closer to the camera, and you’ll need to adjust the focus ring to the shorter distance markers. Carefully watch the viewfinder and adjust until the subject is sharp. Close-up shots tend to have a shallow depth of field, so small adjustments to the focus can make a big difference. Pay attention to the foreground and background, since anything out of focus can be distracting in close-up shots.
- Landscape or Wide Shots: The focus should be set to infinity (often marked as a figure-eight symbol or the word “∞” on the lens) for wide-angle or landscape shots. This ensures that everything within the frame, from the foreground to the distant horizon, will appear sharp. While some Super 8 cameras automatically adjust for wide shots, it’s still a good idea to check and confirm that the focus ring is set to infinity. Remember that wider lenses often have a greater depth of field, so focus may not need as fine-tuned an adjustment as close-ups.
Techniques for Fine-Tuning Focus
Focusing During Recording:
When shooting dynamic scenes or with moving subjects, maintaining sharp focus can be challenging. The key to keeping focus sharp during recording lies in technique and constant adjustment.
- Manual Focus Adjustments: To effectively use a manual focus camera, it is crucial to continuously monitor and adjust the focus ring as the subject moves. This involves observing the distance between the subject and the camera, making subtle adjustments as they move closer or farther away. This requires understanding the camera’s depth of field and its interaction with subject movement.
- Auto Focus Considerations: The Super 8 camera’s automatic focus feature adjusts focus based on subject movement but may struggle with fast movements or scene changes, especially when multiple subjects are at varying distances. In such cases, manual focus may be necessary for better control.
- Focus Pulling: Focus pulling is an advanced technique in professional filmmaking that involves manually adjusting the focus during recording to shift from one subject to another, especially in scenes with multiple focal points. This technique can add a professional touch to the work and ensure the right subject remains sharp.
Using a Tripod:
A tripod is crucial for steady shots, especially when fine-tuning focus. It prevents camera shake, preventing blurry focus during long exposures or wide apertures. It allows precise focus adjustments without hand-held instability, especially in static or slow-moving scenes. A tripod stabilizes deliberate focus changes, especially in scenes requiring focus pulling.
Depth of Field Considerations:
Depth of field (DOF) is the area in focus in a shot, with wider apertures shallowing it and narrower apertures increasing it. Understanding and controlling DOF is crucial for effective focus management.
- Shallow Depth of Field: For shots that highlight a specific subject while blurring out the background, you would use a shallow depth of field. This is achieved by using a larger aperture (lower f-stop). A shallow depth of field is perfect for portraits or close-up shots where you want to emphasize the subject, leaving the background or foreground out of focus. However, when working with shallow depth of field, it’s important to keep the subject within a precise focus range, as small movements or shifts in the distance can lead to the subject going out of focus.
- Wide Depth of Field: For scenes that require everything in the frame to be in focus, such as wide landscapes or group shots, you would use a wide depth of field. This is achieved by using a smaller aperture (higher f-stop). With a wide depth of field, both the foreground and background remain sharp, making it easier to maintain overall focus throughout the shot. This is ideal for outdoor scenes where you want to capture the entire environment in focus.
Troubleshooting Focus Issues
Blurry Footage:
Blurry footage is a common issue with a Super 8 camera, often caused by incorrect focus, poor lighting, and camera shake. To fix this, adjust focus settings based on the subject’s distance and check the viewfinder for sharpness. Poor lighting can cause the camera to struggle to gather enough light, resulting in soft images. Increased exposure or wider aperture can improve the shot’s sharpness. Handheld cameras can also cause blurred footage due to slight shakes. To eliminate camera shake and make precise focus adjustments, use a tripod and avoid camera shake. By addressing these factors, you can improve the quality of your Super 8 footage.
Auto Focus Problems:
If your Super 8 camera has an autofocus feature, you may encounter issues where the camera struggles to lock focus, particularly in low-light situations or when multiple subjects are at varying distances. Autofocus systems rely on light and contrast to determine the focus, so if the scene is too dark or lacks clear contrast (such as shooting a flat subject like a white wall), the camera may have difficulty finding the right focus.
How to Maintain and Care for Your Camera’s Focusing Mechanism
Regular Maintenance:
Regular maintenance is crucial for your Super 8 camera’s focus mechanism to function smoothly. Clean the lens and viewfinder to ensure optimal focus accuracy, as dirt, dust, or fingerprints can distort images. Use a microfiber cloth and lens cleaner to wipe the lens and viewfinder, and keep the lens free from smudges for precise focus adjustments.
Lens Calibration:
If you notice consistent focus issues, such as blurry footage, even after adjusting the focus ring, it might be time to calibrate your camera’s lens. Over time, lenses can shift out of alignment, affecting focusing accuracy. If the lens seems misaligned or your manual focus ring doesn’t respond properly, it’s best to have the camera serviced by a professional. Regular calibration ensures that the camera’s focus system stays accurate and reliable, especially if you’re using it for precision shots or dynamic scenes.
Focus Tips for Super 8 Filmmakers
Lighting Conditions:
The Super 8 camera’s focus accuracy is significantly influenced by lighting. In low light conditions, insufficient contrast can hinder the camera’s ability to lock onto a subject. To improve focus accuracy, use a wider aperture or faster film stock. In backlighting situations, manually adjust focus to maintain sharpness or use additional lighting to reduce the backlight effect and improve focus reliability. Using a wider aperture or faster film stock can also enhance focus accuracy.
Practice Makes Perfect:
Focusing with a Super 8 camera requires practice to become second nature. Familiarizing yourself with the focusing mechanism allows quicker, more accurate adjustments during filming. Regular practice helps understand the relationship between subject distance and focus, giving you greater confidence and control over your shots. Each camera operates slightly differently, so practicing under various conditions helps you become more comfortable with the focusing mechanism.
FAQs – How to Focus a Super 8 Camera
Why does my Super 8 camera produce blurry footage?
Blurry footage can be caused by improper focus, low light, or camera shake. Check your focus settings and lighting conditions.
Can I adjust the focus on an automatic Super 8 camera?
It depends on the model. Some automatic cameras allow limited manual focus adjustments.
How do I focus a Super 8 camera for close-up shots?
Turn the focus ring to the close-up distance mark or adjust the auto-focus for nearer distances.
How can I avoid focus problems when filming moving subjects?
Use a tripod, adjust the focus manually, or choose a camera with continuous auto-focus features.
Do I need to worry about focus in wide-angle shots?
Wide-angle shots often have a deeper depth of field, but check to ensure distant objects are sharp.
Can I repair the focus mechanism of my Super 8 camera myself?
Minor issues may be fixable, but professional servicing is recommended for complex problems like misalignment or auto-focus failure.
Conclusion
In this guide, How to Focus a Super 8 Camera, we’ve covered the essentials of focusing on a Super 8 camera, from understanding the mechanics of manual and autofocus to tips for troubleshooting common issues like blurry footage. We’ve also discussed how to properly set focus for various subjects and lighting conditions and the importance of regular maintenance to keep your camera’s focusing mechanism in top shape.
Mastering focus takes time, so don’t hesitate to practice and experiment with different techniques to get comfortable with your camera. With patience and attention to detail, you can capture sharp, clear images that make the most of your Super 8 filmmaking experience.
As a tech writer specializing in gadget apps and software, my mission is to make complex technical details accessible and engaging, helping users navigate modern technology with confidence, from early adopters to everyday consumers.
I focus on creating clear and concise documentation, tutorials, and articles that demystify how apps and software integrate with gadgets to enhance daily life. Whether it’s breaking down the features of a smart home app, exploring the latest mobile software updates, or providing troubleshooting guides for wearable tech, I aim to make the user experience seamless and enjoyable.
Writing is more than conveying information; it fosters understanding and connection. By simplifying gadgets, apps, and software, I empower users to use technology for productivity, entertainment, and innovation in their daily lives.
5 thoughts on “How to Focus a Super 8 Camera: A Step-by-Step Guide”