The PaperShoot camera is more than just a digital camera; it’s an artistic tool that merges eco-conscious design with minimalistic functionality. Popular for its retro aesthetic and unique approach to photography, the PaperShoot camera strips away distractions to let you focus purely on creativity. However, many users may wonder, How to Get My Photos from a PaperShoot Camera? This guide will walk you through the step-by-step process to transfer your photos seamlessly and address any potential issues you might encounter along the way.
Step-by-Step Guide to Retrieve Photos
1. Understand the PaperShoot Camera’s Philosophy
The PaperShoot camera is built to embrace simplicity. Unlike traditional digital cameras, it lacks an LCD screen, USB ports, or complex settings. This intentional design choice encourages users to enjoy photography without overanalyzing. The photos you take are stored on an SD card in JPEG format, ensuring compatibility with most devices.
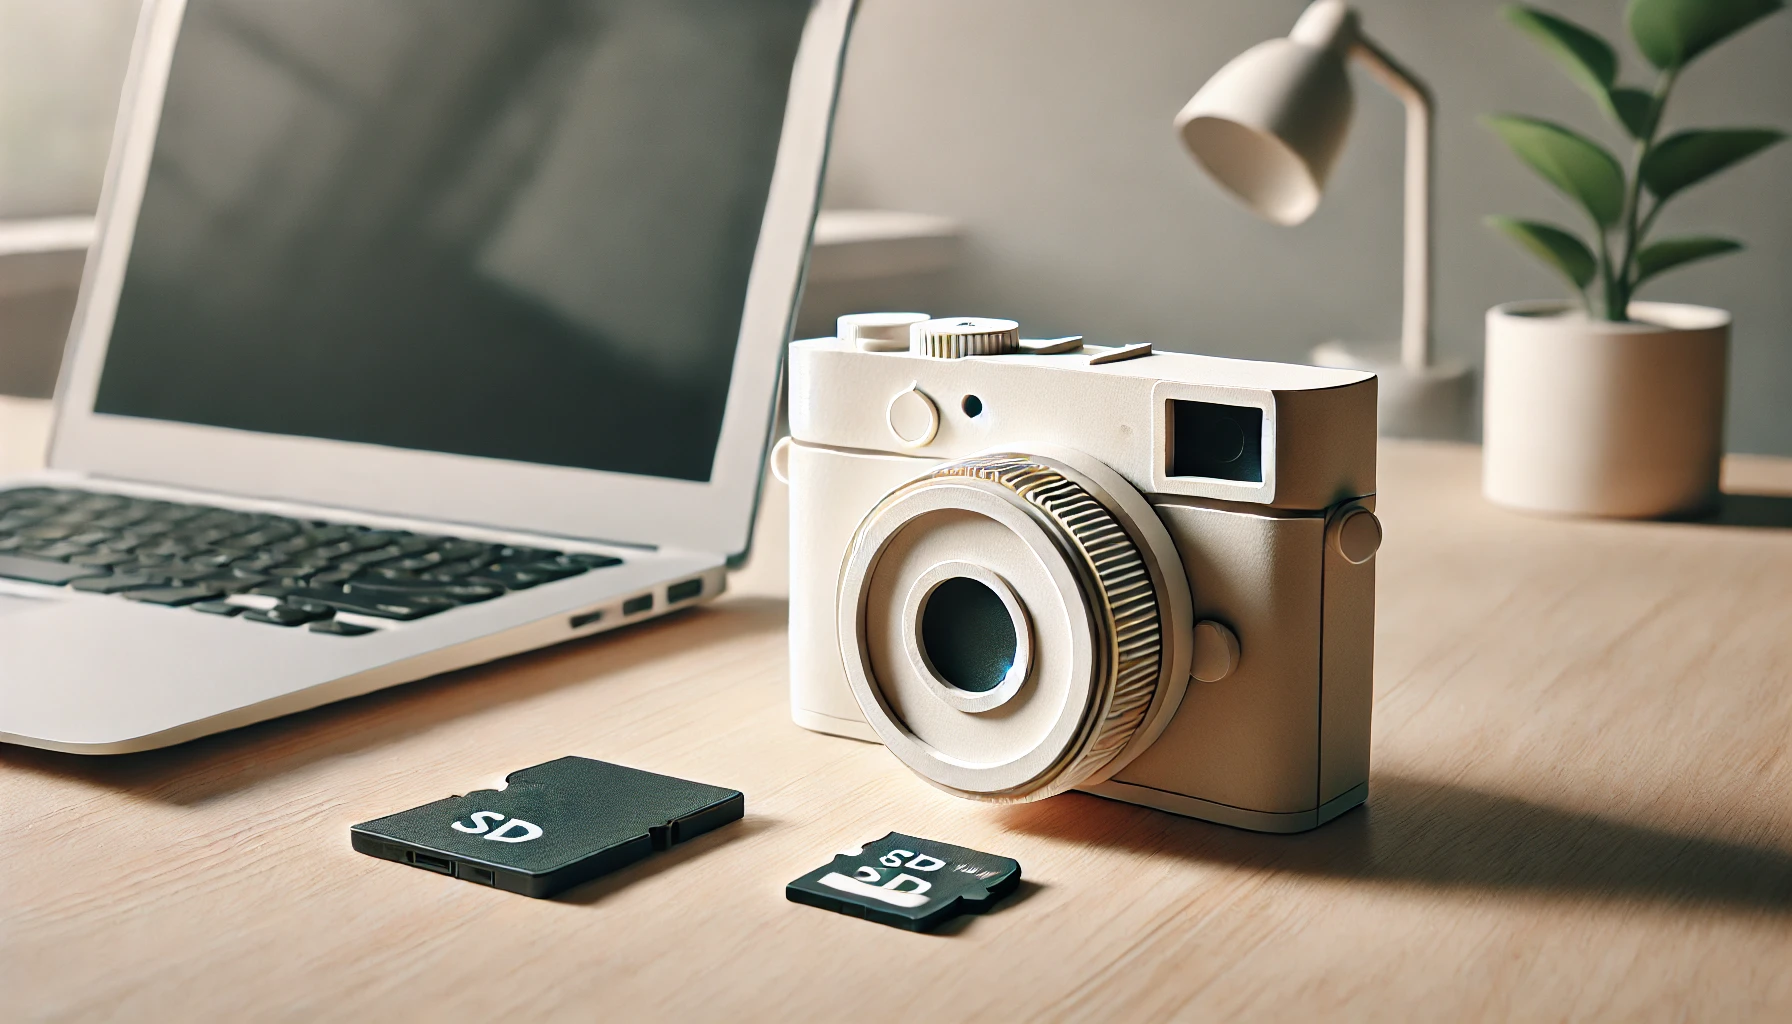
2. Tools You Need to Retrieve Photos
To access your photos, gather the following:
- A PaperShoot camera.
- The SD card used in the camera (microSD, up to 32GB).
- An SD card reader or an adapter.
- A computer, laptop, or smartphone with SD card compatibility.
3. Removing the SD Card Safely
- Switch off your PaperShoot camera to prevent data corruption.
- Open the back cover carefully to access the SD card slot.
- Gently push the SD card to release it, and then remove it.
4. Connecting the SD Card to a Device
- Using a Computer or Laptop:
- Insert the SD card into the card reader or the built-in slot.
- Open your file manager (File Explorer on Windows or Finder on Mac).
- Look for the SD card under removable drives or devices.
- Using a Smartphone:
- Connect the SD card via an adapter compatible with your phone.
- Use a file management app to browse the SD card’s contents.
5. Locating Your Photos
- Open the folder labelled “DCIM” (Digital Camera Images) on the SD card.
- Browse through the subfolders to find your photos, usually named in sequential order.
6. Transferring and Backing Up Photos
- Select the photos you want to transfer and copy them to your device’s internal storage or a designated folder.
- Create backups on an external hard drive or cloud storage service like Google Drive or Dropbox to prevent accidental loss.
Tips for Enhancing Your PaperShoot Experience
1. Organize Your Digital Gallery
After transferring photos, categorize them into folders by event, date, or theme. This simple step makes it easier to locate specific memories later.
2. Enhance Photos with Editing Tools
While PaperShoot photos have a raw, natural charm, some editing can elevate their quality. Consider using software like Adobe Lightroom or apps like Snapseed to adjust brightness, contrast, and colours.
3. Experiment with Camera Features
PaperShoot cameras often support interchangeable lenses and filters. These can add artistic flair to your photos, from fisheye effects to vintage colour palettes.
4. Regular Camera Maintenance
- Keep the camera clean and dust-free, especially around the lens and SD card slot.
- Format your SD card occasionally to optimize storage and ensure smooth operation.
- Use rechargeable batteries to reduce waste and maintain consistent power levels.
5. Get Creative with Printing Options
Your PaperShoot photos are perfect for printing. To showcase your work, experiment with different formats, such as photo books, postcards, or even wall art.
FAQs
Can I connect my PaperShoot camera directly to a computer?
No, the PaperShoot camera does not have USB connectivity. You need to access the photos via the SD card.
What SD card size works best with the PaperShoot camera?
MicroSD cards with capacities up to 32GB are recommended. Using larger cards may cause compatibility issues.
My photos aren’t showing on the SD card. What should I check?
To fix an SD card issue, insert it correctly and ensure it’s not corrupted. Double-check that the camera’s batteries are fully charged to prevent low-power interference. If the SD card doesn’t work, reformat it, but back up any existing data to prevent data loss.
How can I print photos from my PaperShoot camera?
Once you’ve transferred the photos to your device, you can create physical prints using photo printers or online printing services. Standard JPEG formats ensure broad compatibility.
Are there apps specifically for PaperShoot cameras?
Currently, there are no dedicated apps. However, you can enhance your photos using third-party photo editing and organization apps.
Can deleted photos from the SD card be recovered?
In some cases, recovery software like Recuva or Disk Drill can retrieve deleted files. For best results, act quickly and avoid overwriting the card.
Conclusion
The PaperShoot camera offers a delightful blend of nostalgia and innovation, allowing photographers to focus on the essence of capturing moments. Retrieving your photos is a simple process that connects you to the tangible aspect of photography in today’s digital world. With its eco-friendly design and artistic potential, the PaperShoot camera encourages users to think outside the box and embrace creativity.
As a tech writer specializing in gadget apps and software, my mission is to make complex technical details accessible and engaging, helping users navigate modern technology with confidence, from early adopters to everyday consumers.
I focus on creating clear and concise documentation, tutorials, and articles that demystify how apps and software integrate with gadgets to enhance daily life. Whether it’s breaking down the features of a smart home app, exploring the latest mobile software updates, or providing troubleshooting guides for wearable tech, I aim to make the user experience seamless and enjoyable.
Writing is more than conveying information; it fosters understanding and connection. By simplifying gadgets, apps, and software, I empower users to use technology for productivity, entertainment, and innovation in their daily lives.
2 thoughts on “How to Get My Photos from a PaperShoot Camera”